We’ve all done it. You’re working on an important piece of creative content, and you suddenly realize you forgot to incorporate some feedback from one of the many project stakeholders. … And so the frantic email search begins.
When we released Spaces in late 2015, we wanted to help customers keep their content evolving – and we knew that file sharing was just the beginning of the collaboration process. With Hightail Spaces, you can keep everything tied to collaborating on that piece of visual content—including files, feedback, to-dos, approvals and all versions—in one convenient place. You can think of a Hightail Space as similar to a traditional folder where you can organize and share content, except it offers much more with content-centric collaboration features.
To get started, you will need to create and share your Space—and then you’ll be all set for creative collaboration.
Create your Space
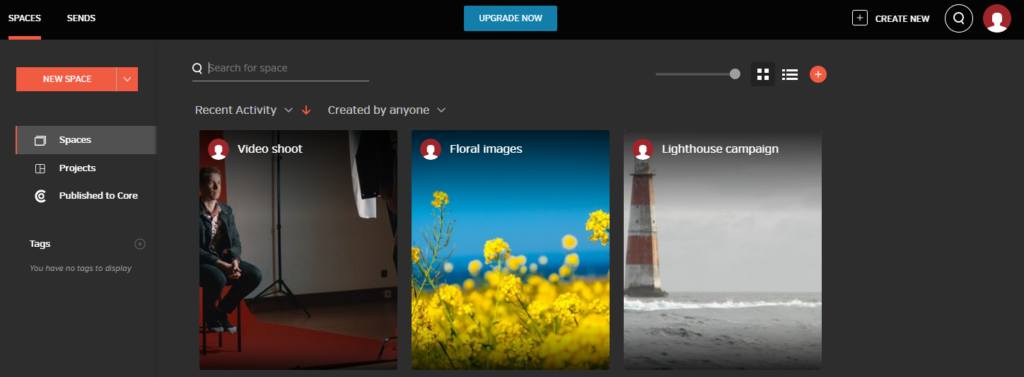
To create a Space, click “Create New” at the top right or the orange “New Space” button at the top left.
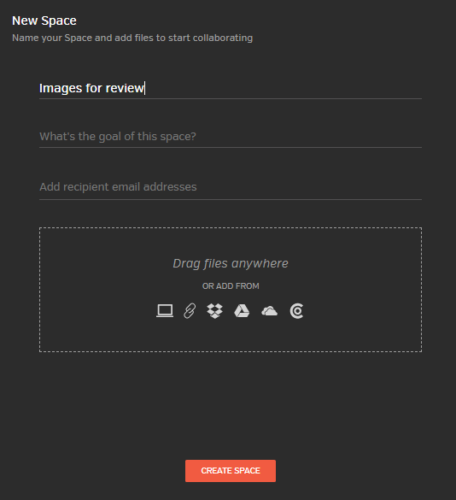
From there, you simply name your Space (in this case, “Images for review”), and you can also provide a short description of the Space and add recipient email addresses (if you have a Teams or Business account). Note: Lite and Pro users can only share Spaces by sharing the unique URL of the Space.
Then you can easily drag files into the box that appears, or you can add them from your computer or various third-party services and click “create Space.” (Additional files can be added even after the Space is created.)
Share your Space
To quickly share your Space without asking your reviewers to log in, you can click the “Share” button to copy the unique Space url or copy the url directly from your browser. Sharing the Space URL this way means that it is publicly available for anyone that has the link.
Depending on your organization settings, your Space might default to being public to anyone with the URL or you might see an “Invite” button, as shown in the highlighted section below.
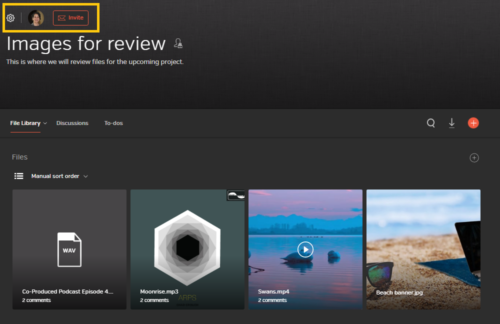
You can toggle between those two options by clicking on the gear icon (also in the highlighted section). That will bring you to a screen where you can make your selection.
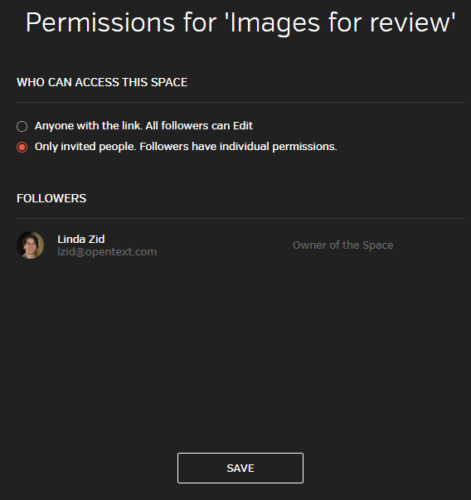
If you choose to invite collaborators to join your Space by clicking the orange “Invite” button, you will be asked to enter the email addresses of your collaborators, as well as to set their permissions to “view only,” comment only,” “comment and download” or “edit.” Setting permissions will help prevent files from being uploaded irrelevantly, downloaded unintentionally or accidentally deleted.
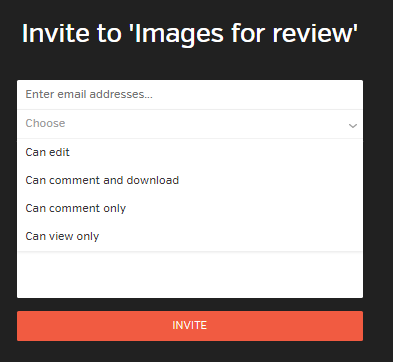
Once you click the orange “Invite” button, your recipient will be invited to the Space through email—and you are ready to collaborate.
(If you’d like to find out how to send individual files from a Space, please read “Send it from Spaces.”)
Collaborate in your Space
You’ve shared your Space and initial set of files, now it’s time to collaborate. There are several ways you can collaborate with both your teammates and with external collaborators within the Space—and all of the action will stay within that same Space. No more of those frantic email searches!
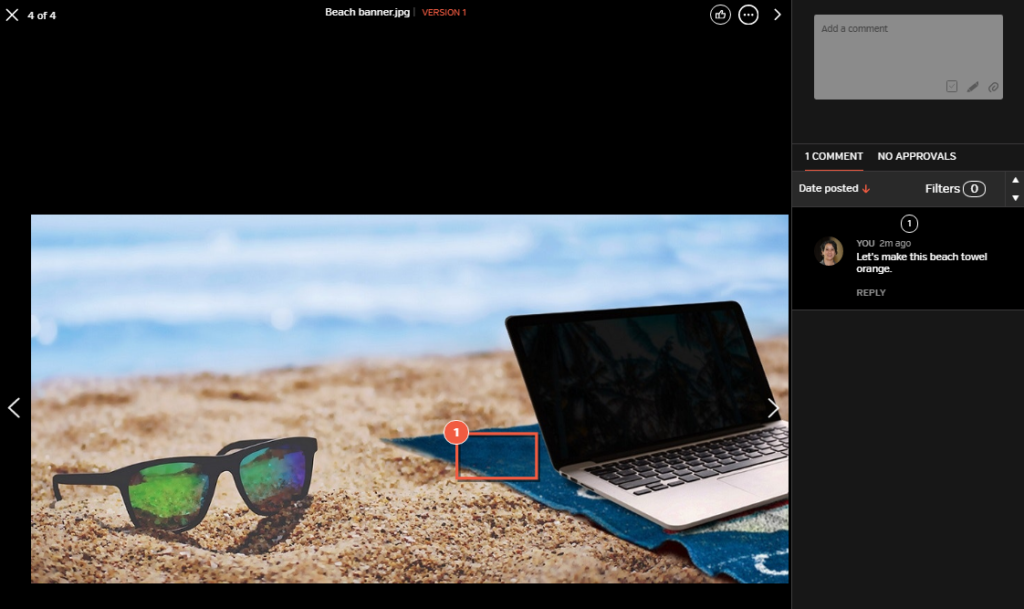
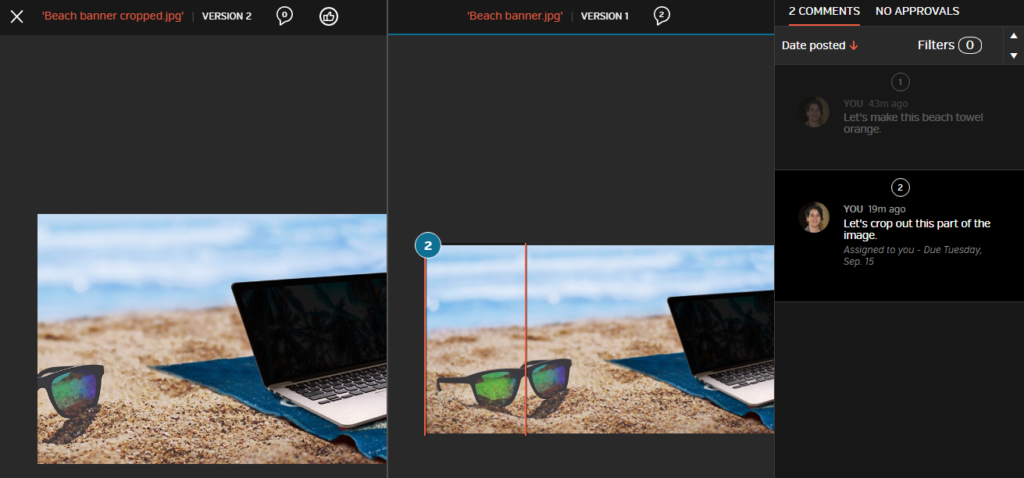
Collect precise feedback: Comments and annotations can be left directly on the exact point of the image, video file, audio file or other multimedia file that the feedback is addressing—making it easier to understand exactly what the reviewer is referencing. You can add even more context to your comment by attaching images, which will preview within your comment.
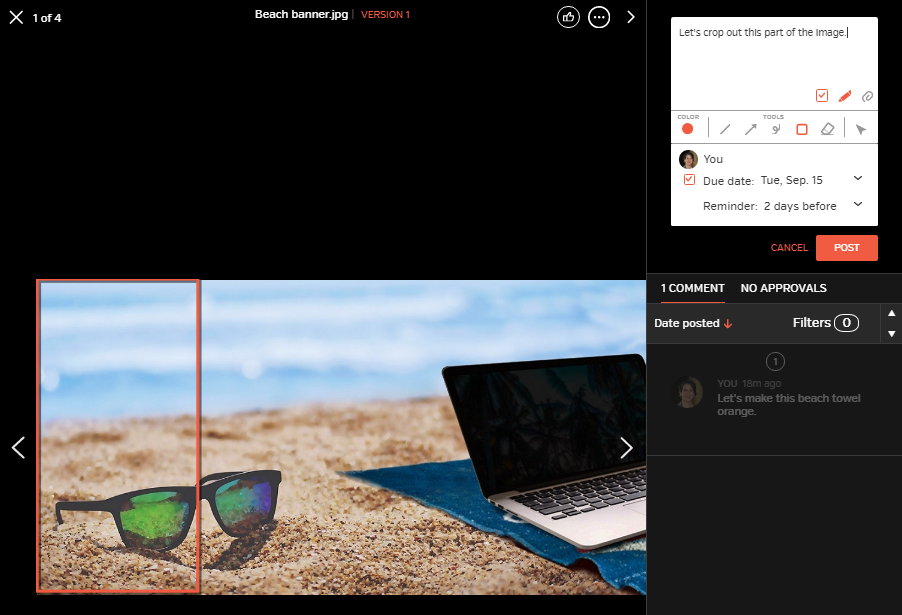
@mentions and to-dos: By typing the @sign and starting to type a collaborator’s name in the comments box, you will be given options to select the person you wish to flag a comment for. They will be notified via email that their attention is needed. Or you can click the checkbox in the comment box, and that will give you the option to assign a follow-up to a specific person and even add a due date and a reminder (if you have a Teams or Business account).
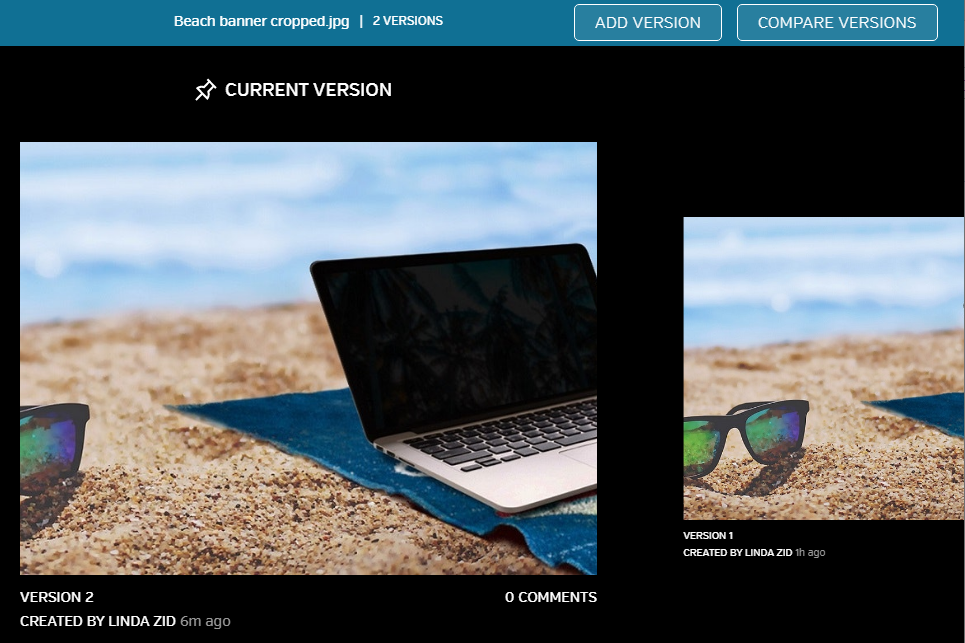
Versioning: When the new version of the file is ready, you can click the menu at the top and select “Add new version,” or simply upload a new file with the exact same file name, and a new version will be created. The file URL will remain unchanged as you add new versions, which is especially handy to ensure reviewers are always working off the latest version of a file.
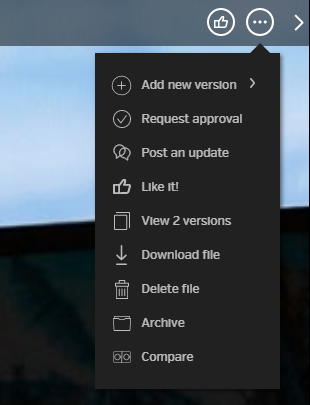
Comparing files: Want to make sure all changes were made? Click “View 2 versions” on the menu shown above. Click “Compare versions” in the upper right-hand corner of the window that appears.
From there, you can select the two versions you want to compare, and you will be able to see the prior comments—making it easy to check on whether a change was made.
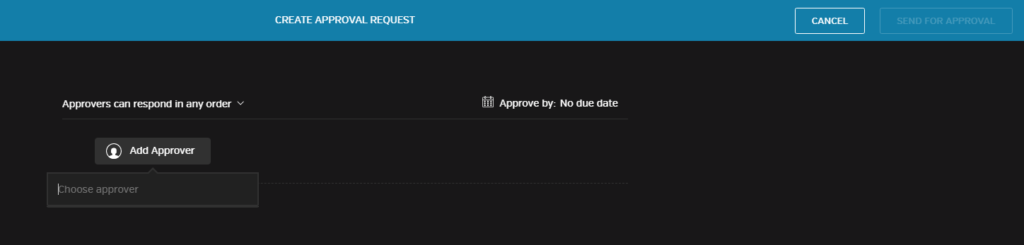
Approvals requests: Ready to get sign-off from key stakeholders? Clicking on that same menu shown above, you can select “Request approval.” From there, you can add approvers, assign a due date for approval and decide if approvers can respond in any order or if they should approve it in a specific order.
If you need an overview of all of the outstanding tasks in your Space, including invitations, follow-ups and approvals, we’re automatically adding them under the To-Dos tab for you. Here you can see which to-dos are outstanding at the Space level, which have been assigned to you or you have assigned, and which have been completed.
And that’s a quick peek at how you can collaborate within a Hightail Space. To see many of these features in action, please visit our short Hightail How-to videos.
P.S. Many of these collaboration features are only available in our Teams and Business plans. Check out our pricing page for more details.